
You can automate almost anything these days and turn it into an IoT device. So some time ago I integrated my bed into Home Assistant. In this post I will show you how I "automated" my bed using an ESP8266.
What do we need?
Basically, to integrate our bed into Home Assistant, we only need a few things. (Feel free to use my affiliate links to support me)
- An ESP8266
- Two car seat sensors
- A USB cable for power supply
- A soldering iron (Optional)
- Home Assistant with ESPHome
The assembly
In order to get our sensors to work, we first have to connect the sensor to the ESP. To do this, we can use the pins on the ESP and the cables on the sensor. In conjunction with small female jumper wires, assembly is completed in a very short time.
It is important here that the sensors must always be connected to the ground of the ESP. The further assignment of the pins on the ESP can be freely selected depending on the board. In my case I use D2 & D3 for the configuration.
The software
Since we want to integrate the whole thing into Home Assistant using ESPHome, we must first create a new device in ESPHome.
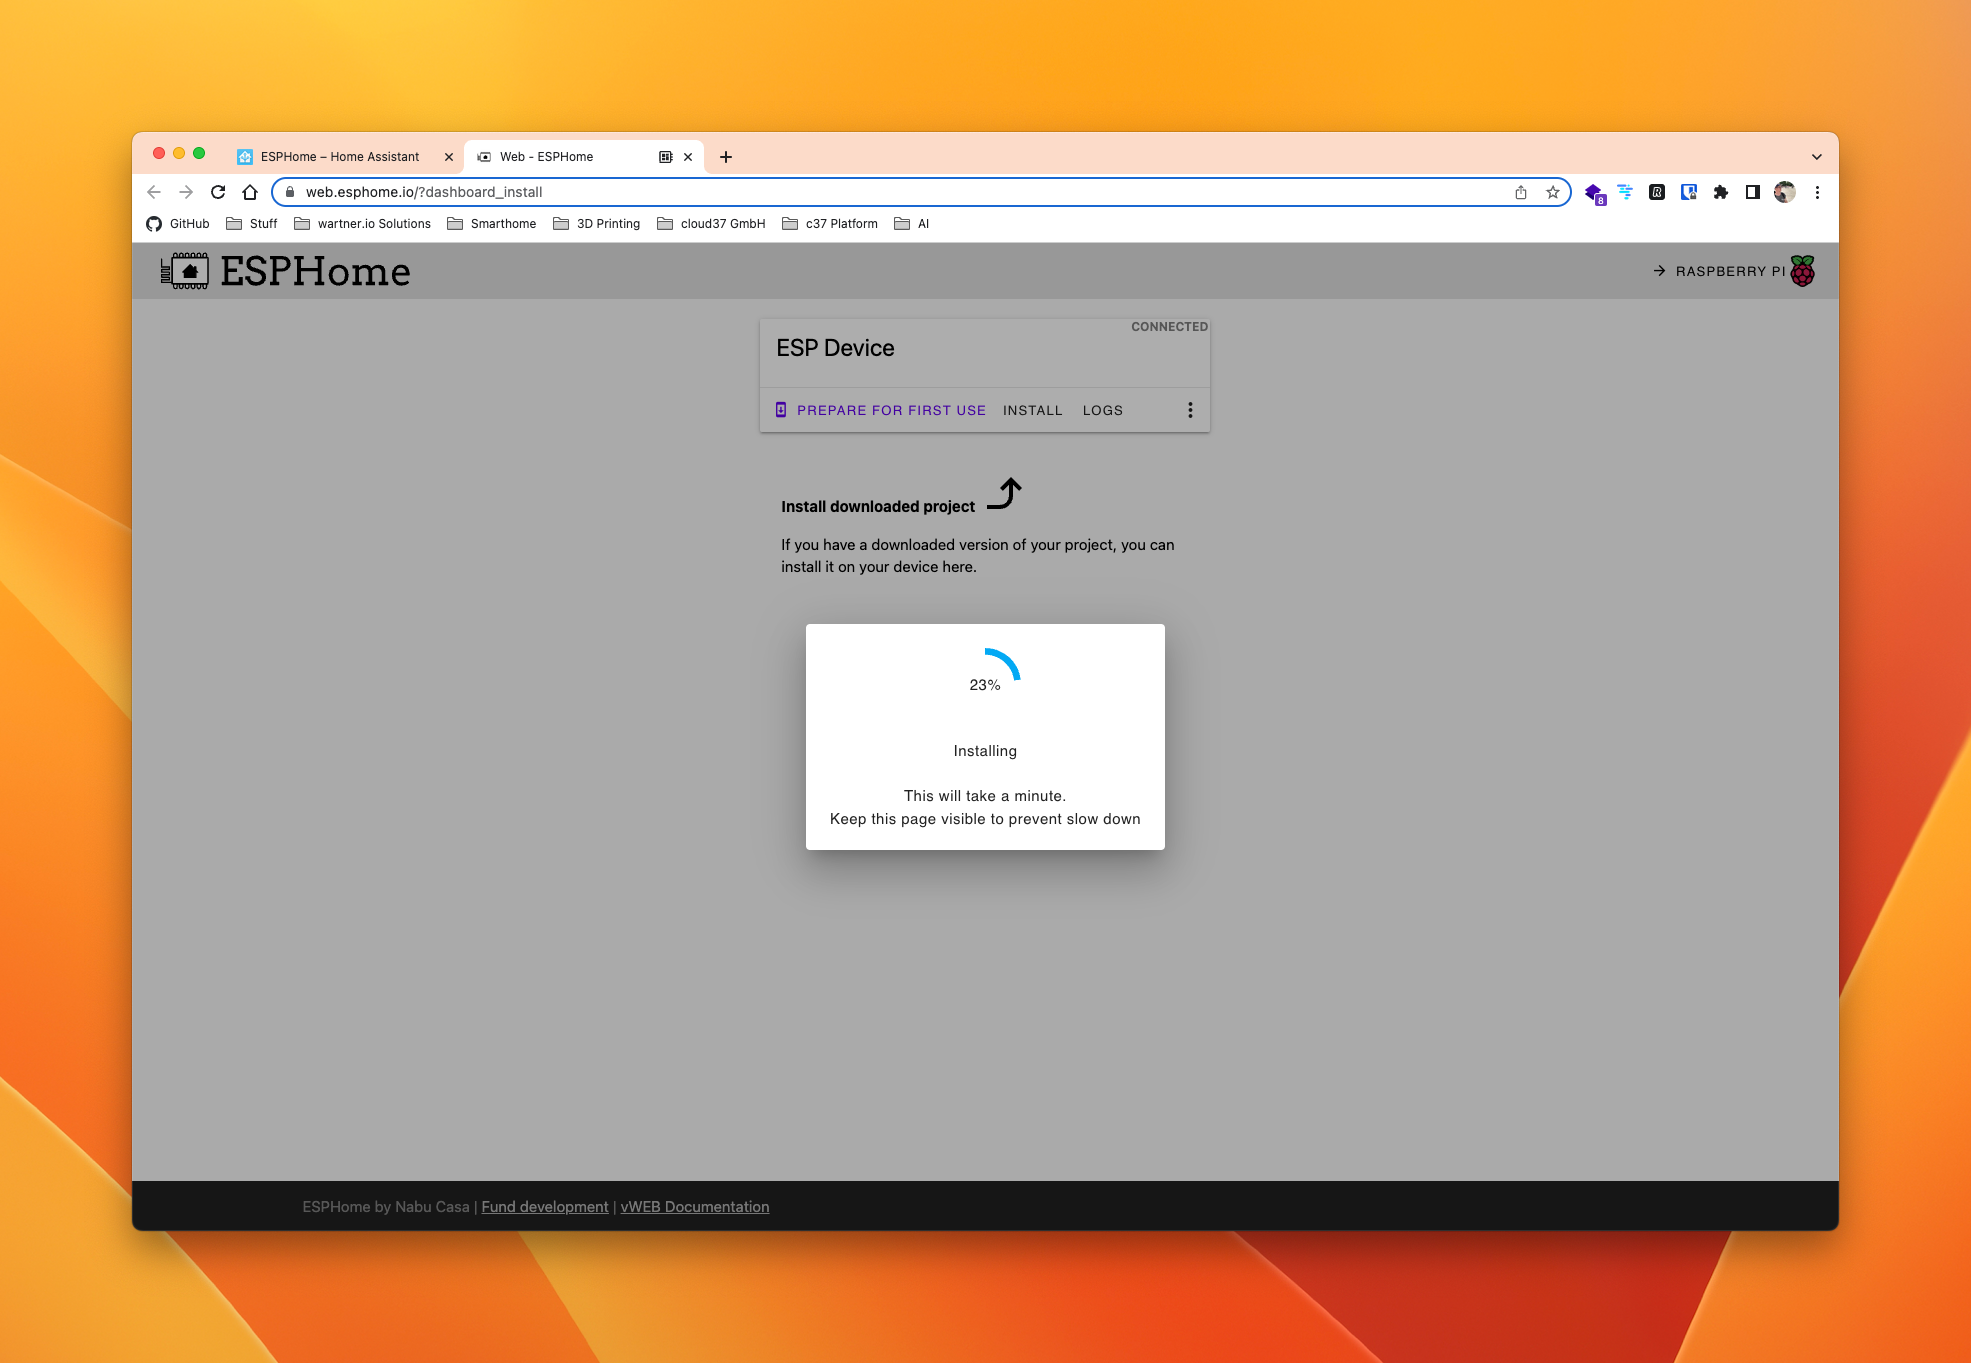
We download the configuration and install it using ESPHome-Web..
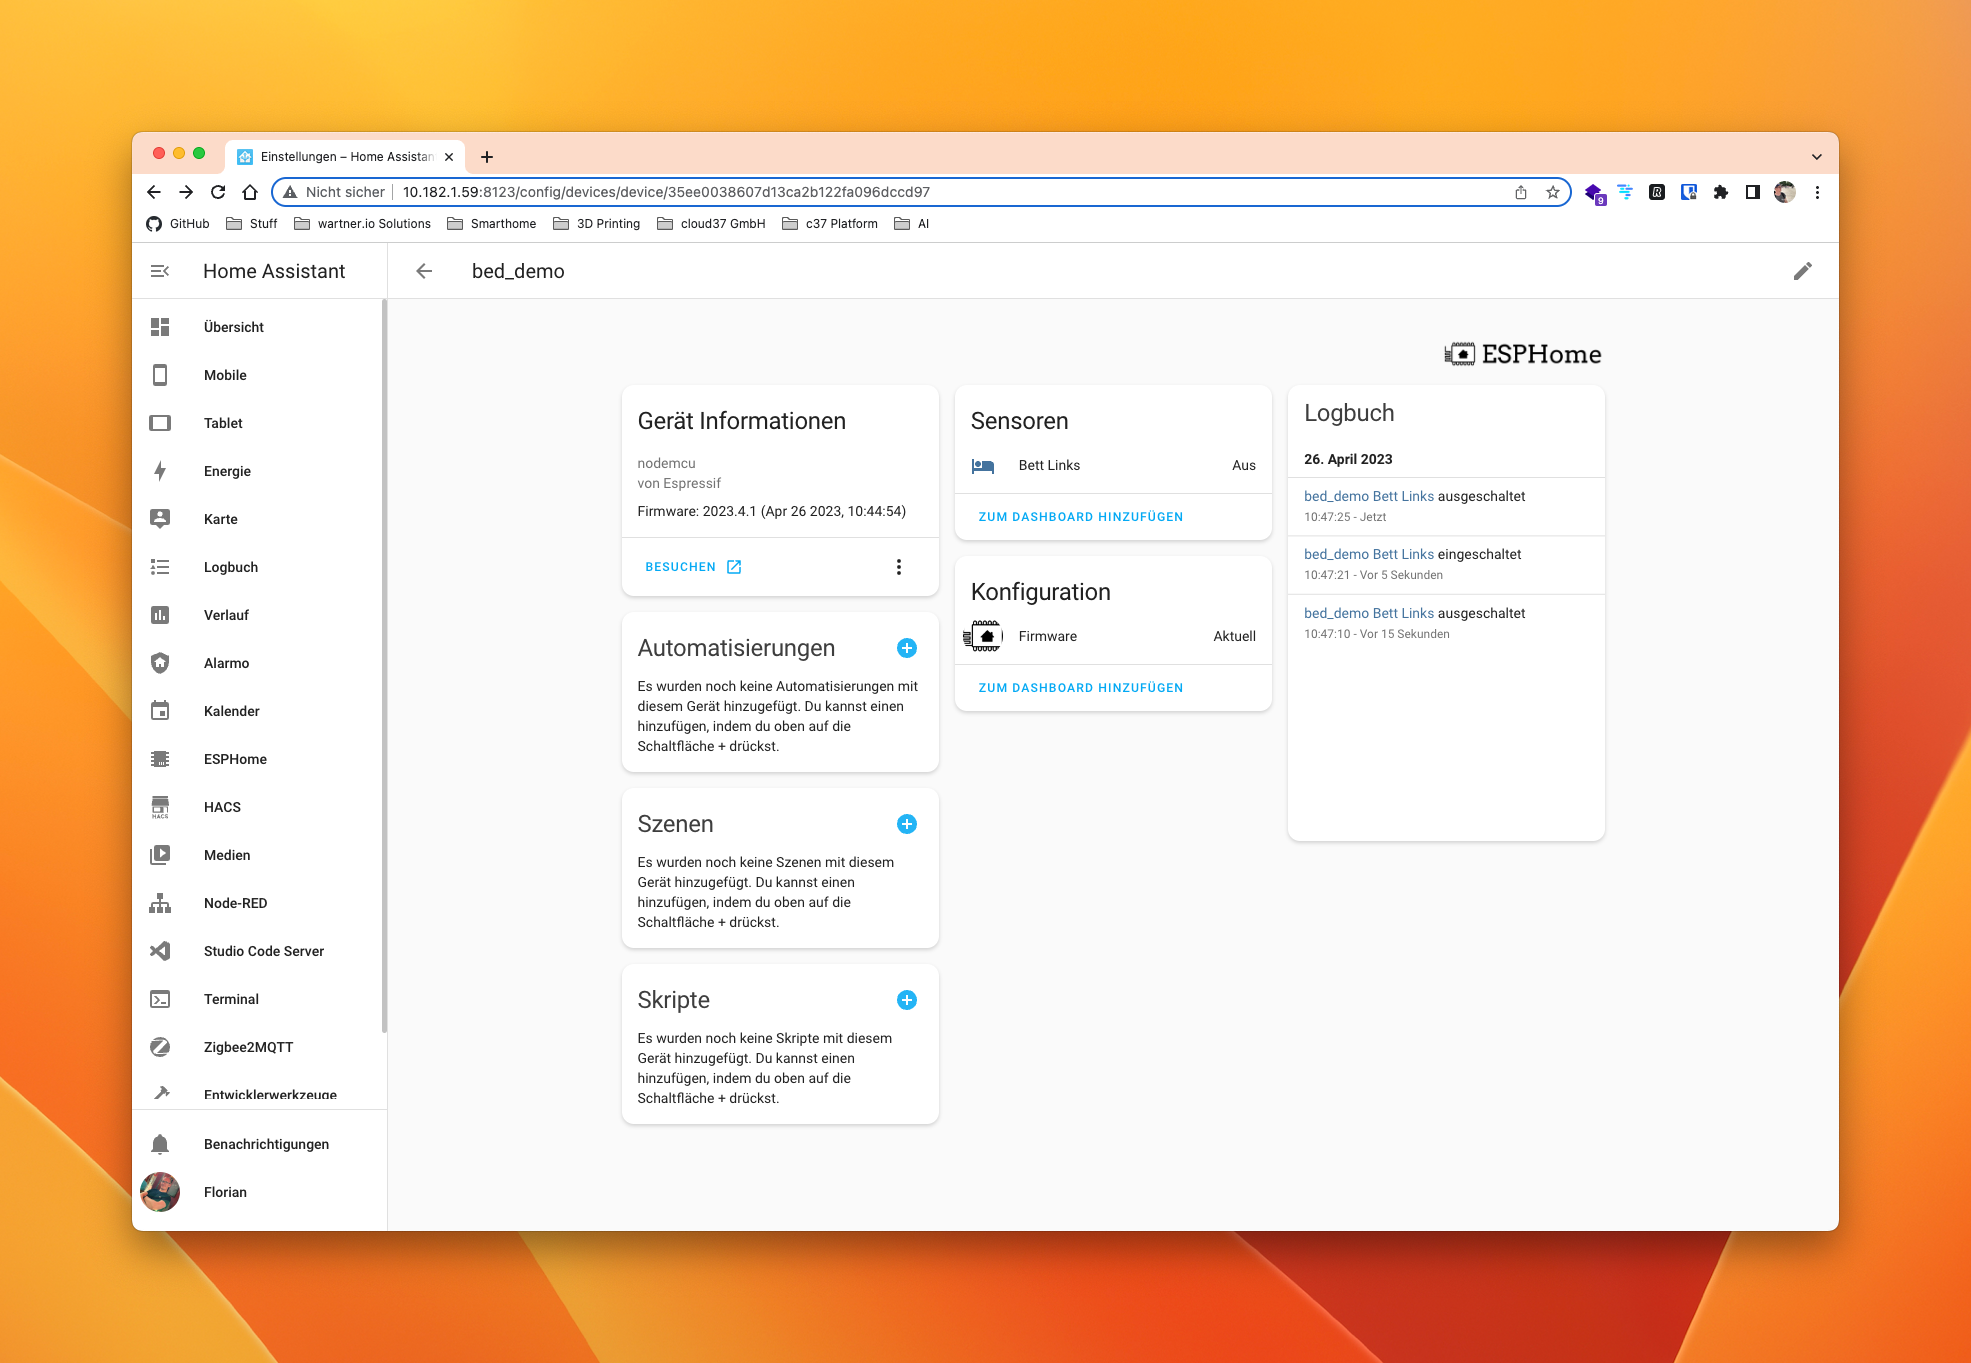
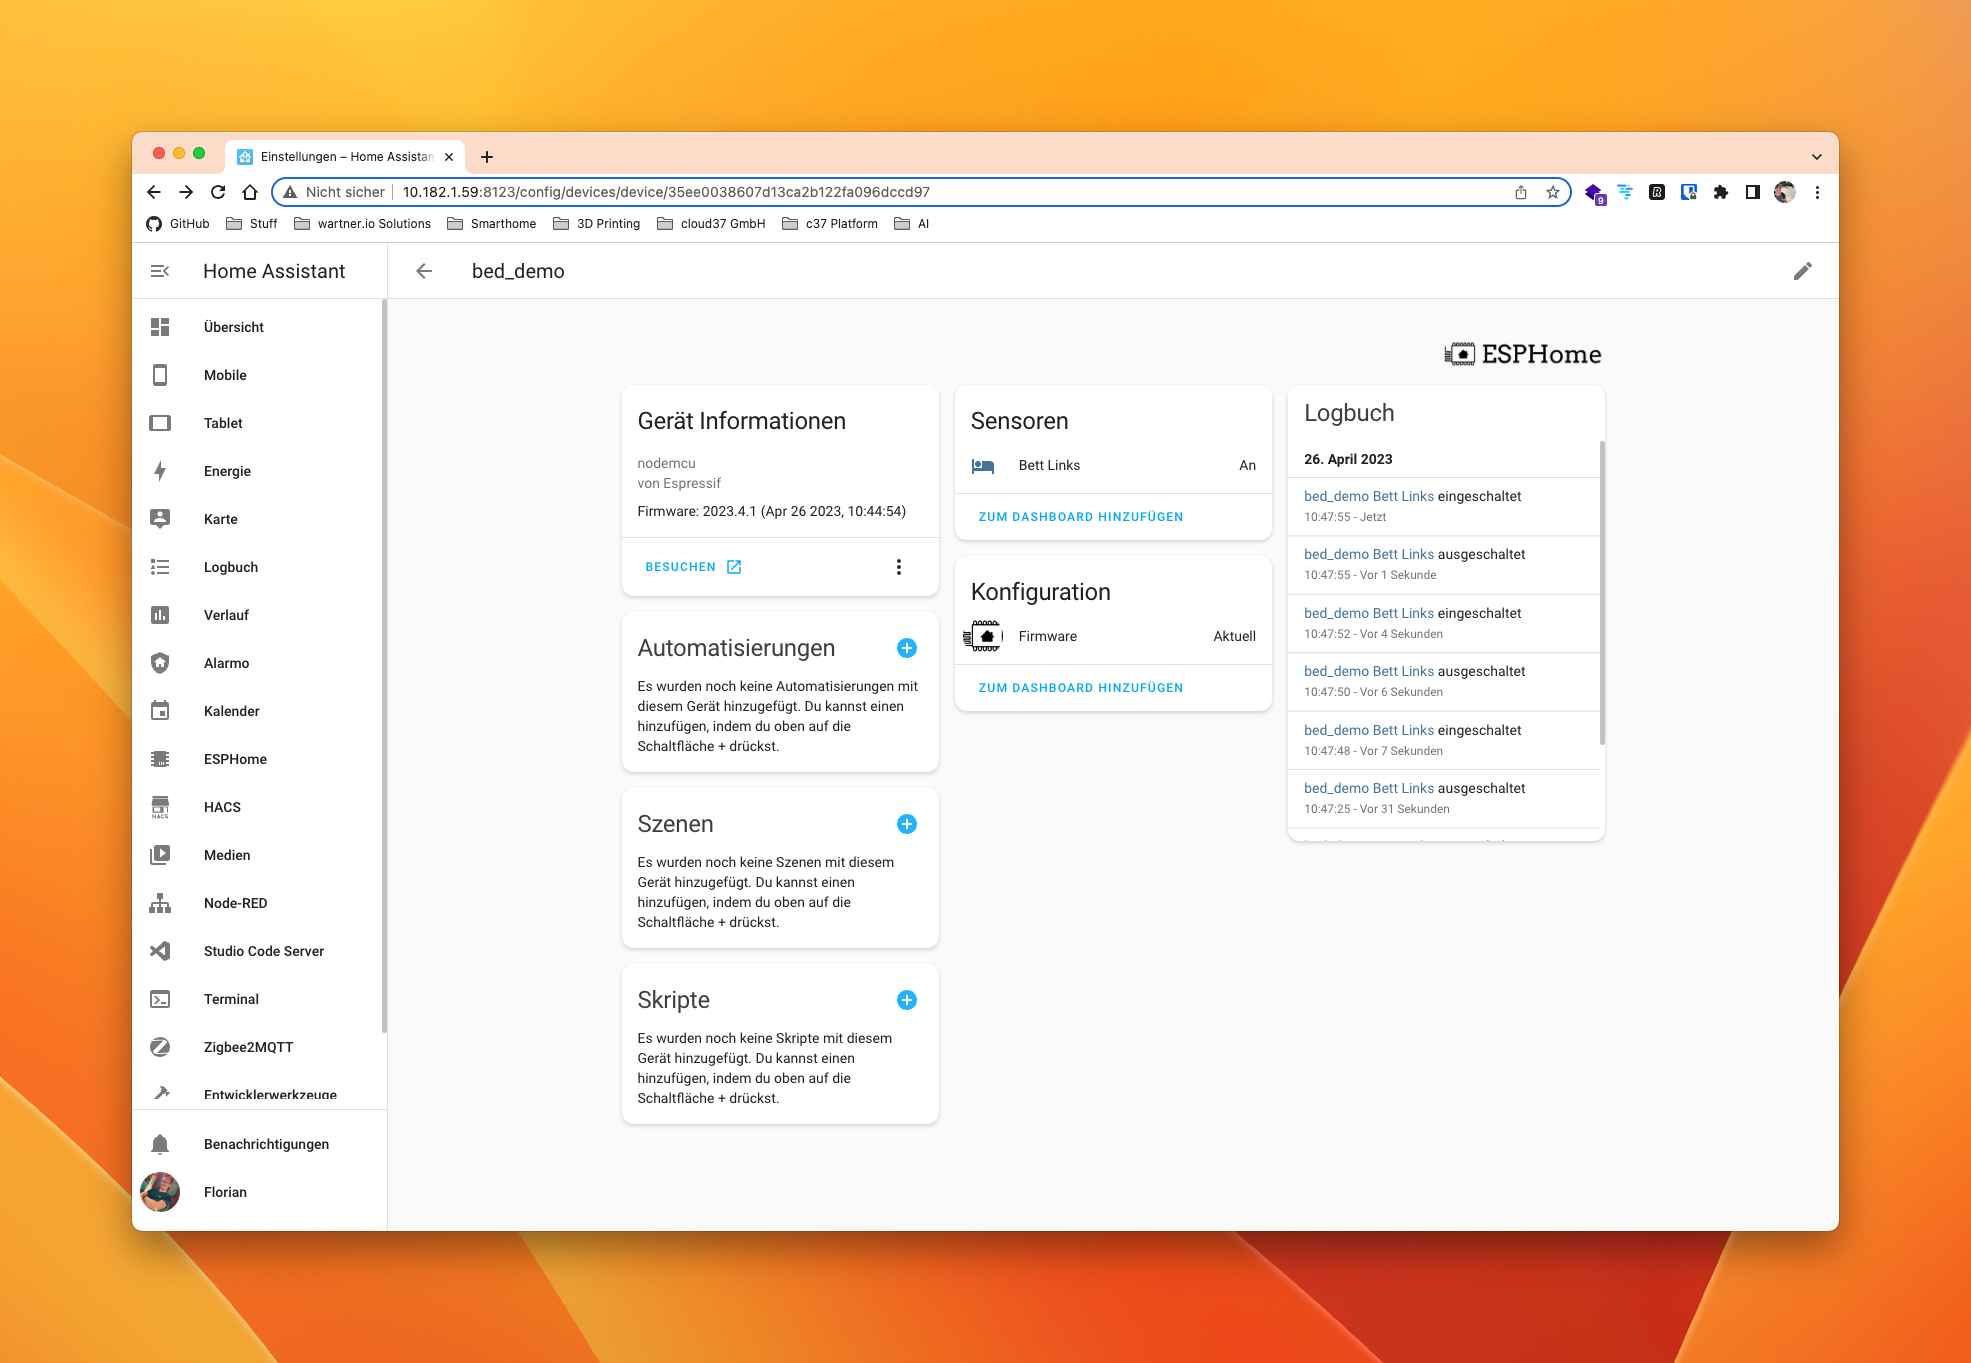
Once this is done, Home Assistant usually recognizes a new device and we can access the device with a few clicks and see the status of the sensor.
If the sensor is occupied, we get an "On" output. If the sensor is not occupied, the status is "Off".
If we now want to put the sensor in our bed, it is advisable to use a topper, as normal mattresses are usually too thick to put pressure on the sensor points.
Automation ideas
There are a lot of automations that could be built with this sensor.. Turn on the night light when someone gets out of bed at night to go to the kitchen or bathroom.. Or start a routine in the morning when the bed was left at a certain time.. It's up to you!
I hope this little guide could help to automate your beds with little effort and very cheap.


