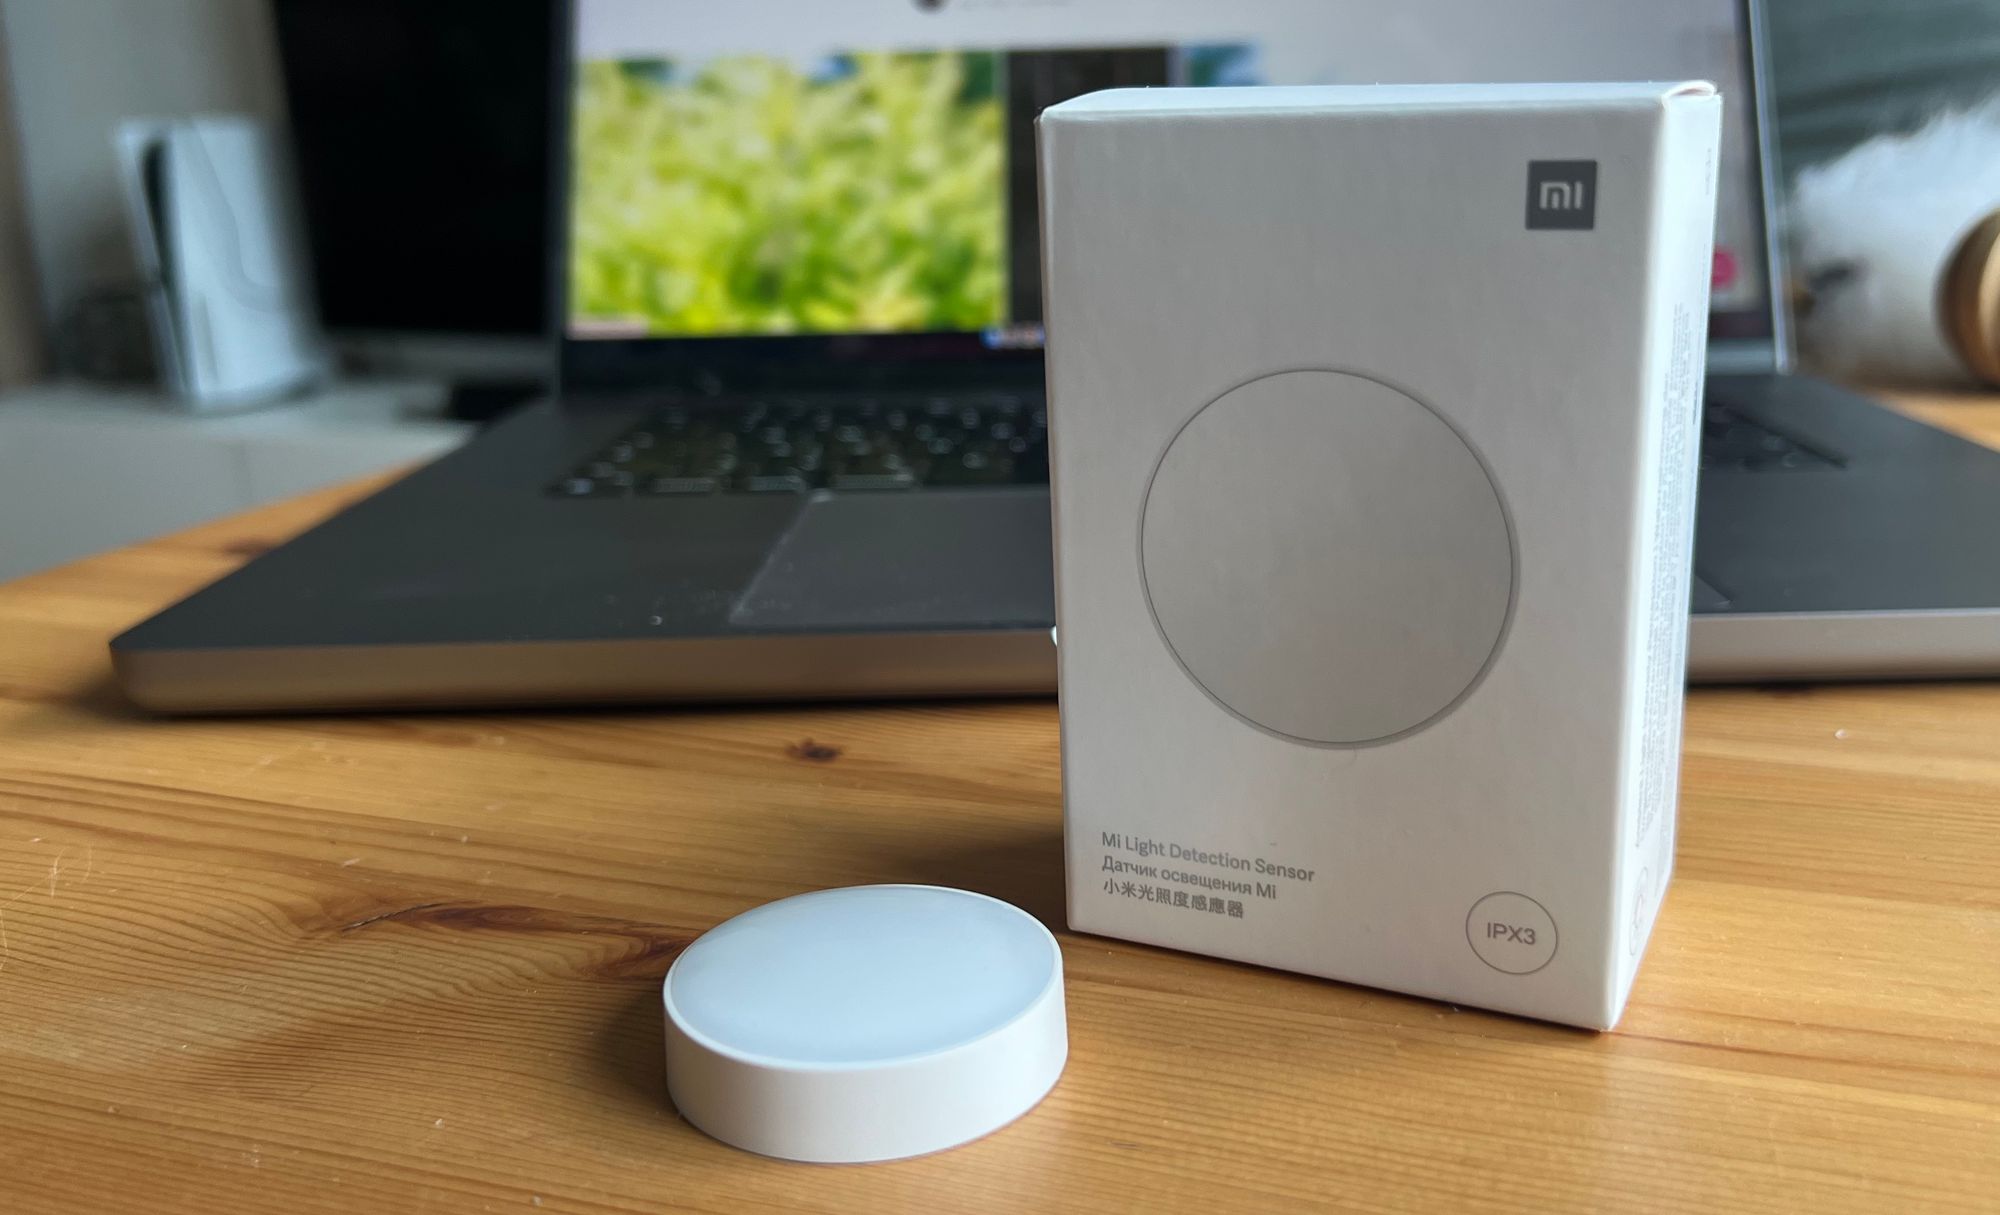
I ordered the Mi Light Detection Sensor on Amazon a few days ago.
My order finally arrived today and I integrated my two sensors directly into Home Assistant using Zigbee2MQTT.
The advantage of these sensors: They are super sensitive and very precise.
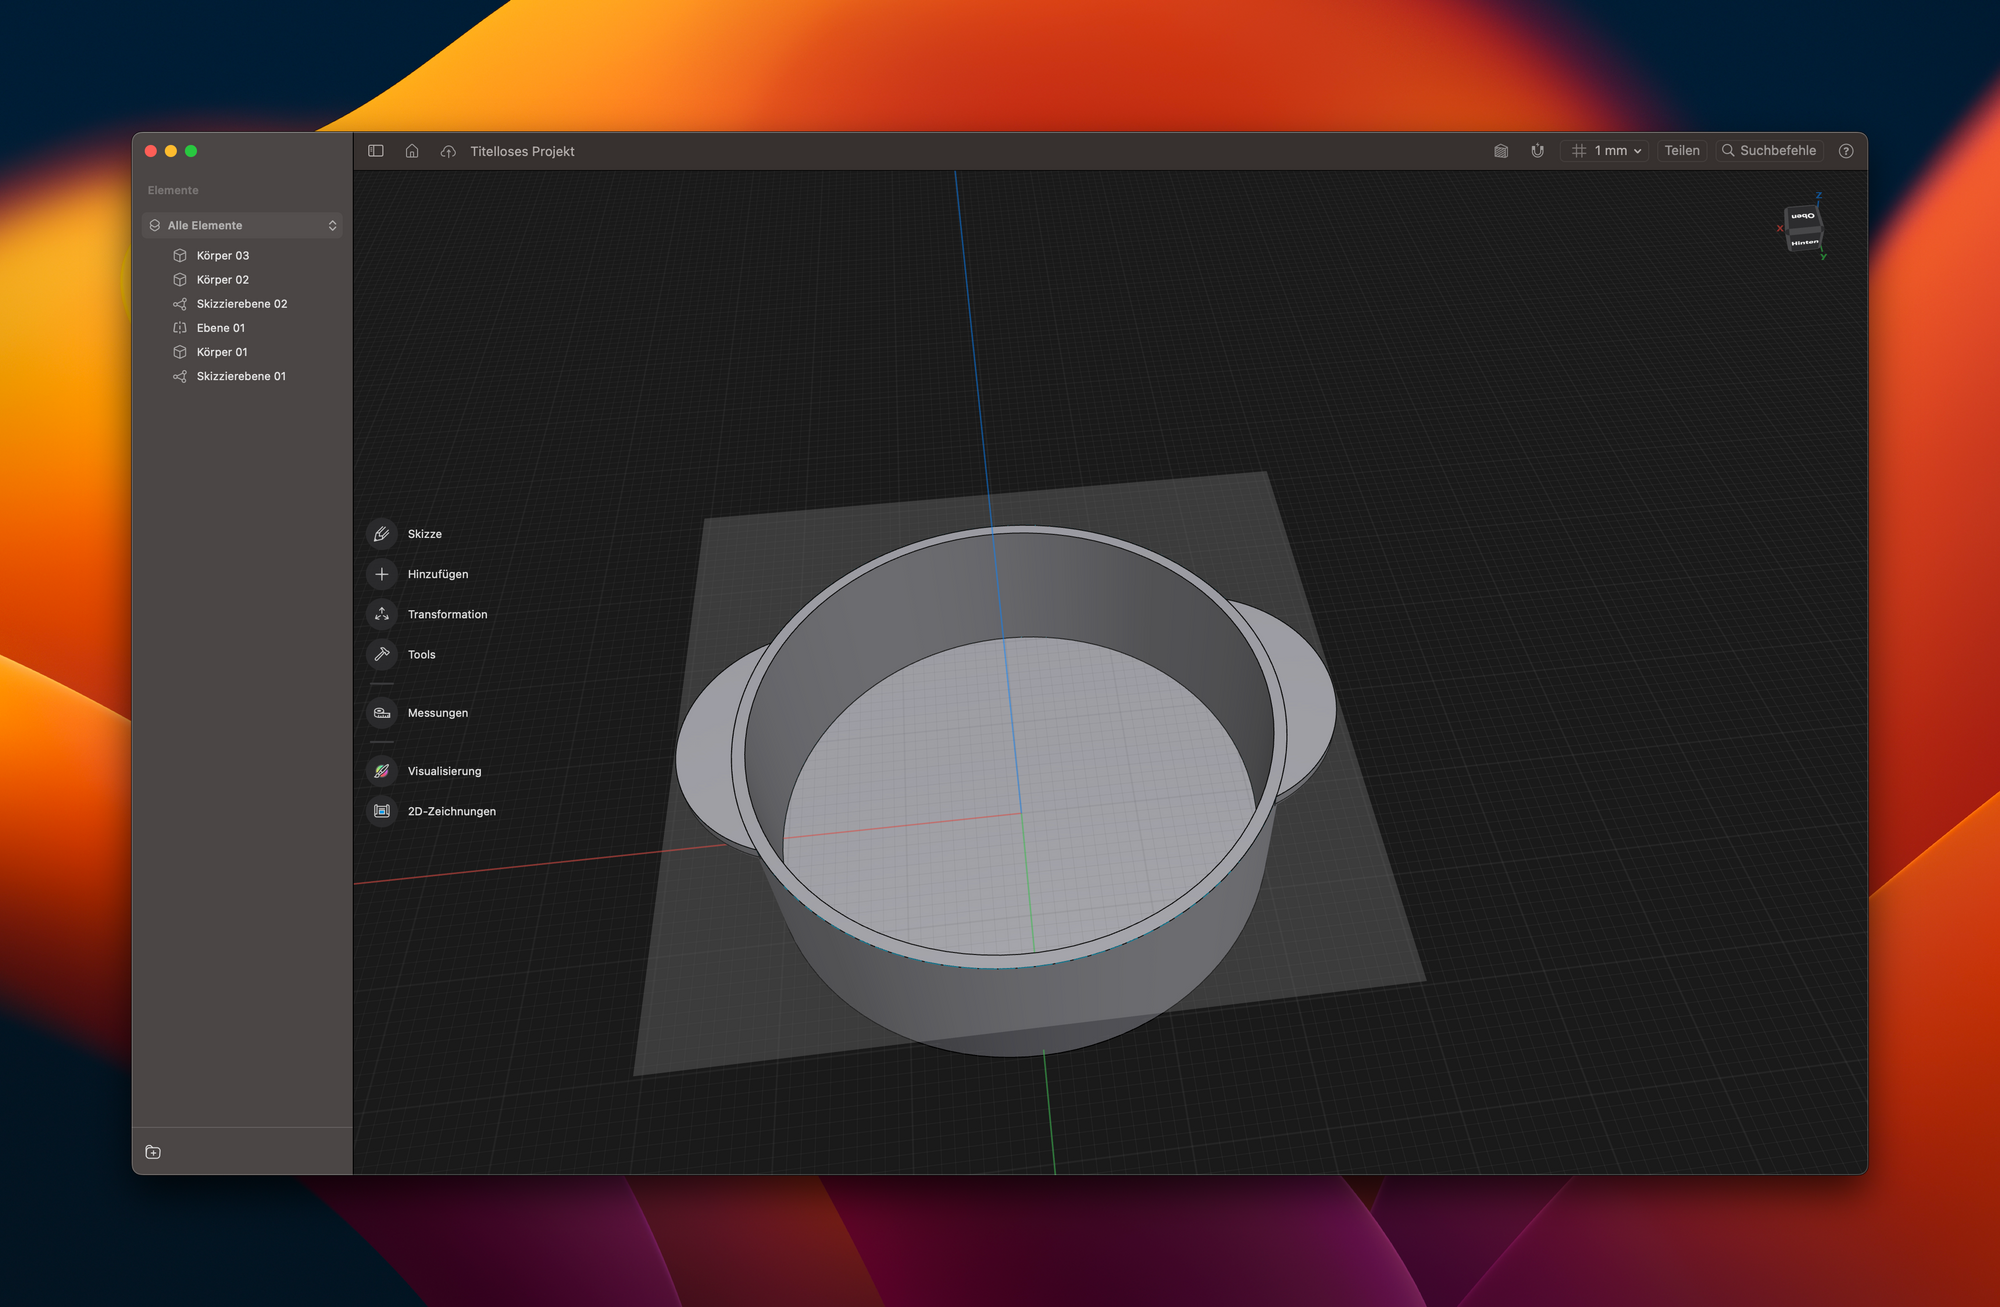
For mounting on my windows, I quickly modeled a small case for the window with Shapr3D and printed it on the 3D printer. Half an hour later the first prototype was finished and I was able to bring the first sensor to the window.
A little window cleaning and two small strips of tape later it was time and I started the first automation.
I wanted to control the light in the kitchen, the office/children's room, the bathroom and the hallway. Or I wanted to use the light in these rooms a little more intelligently. So I quickly built an automation that put the light in a certain percentage orientation at a certain lux value.
Said and done.
Automations
For the living room and my bedroom, I modified the same automation a bit and added small additions for my blinds.. Because when I'm playing with the Playstation in the living room or want to watch TV, it tends to dazzle very quickly and I can hardly see anything , since I face the sun directly with the living room (almost the whole day). The same goes for the bedroom too. But here there is the special feature that my bedroom otherwise heats up very quickly in summer and you cannot sleep properly at night. So the blinds are lowered at a certain lux value and I am neither dazzled nor do I have to struggle for air in the bedroom at night.
My friend Flo (flotomation on Instagram) wrote a small post about this a few days ago:
By the way, you can find the files for my window mount on Printables.com and support me a little with the link to the sensor. :)